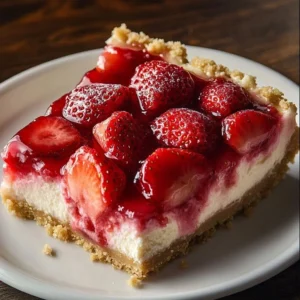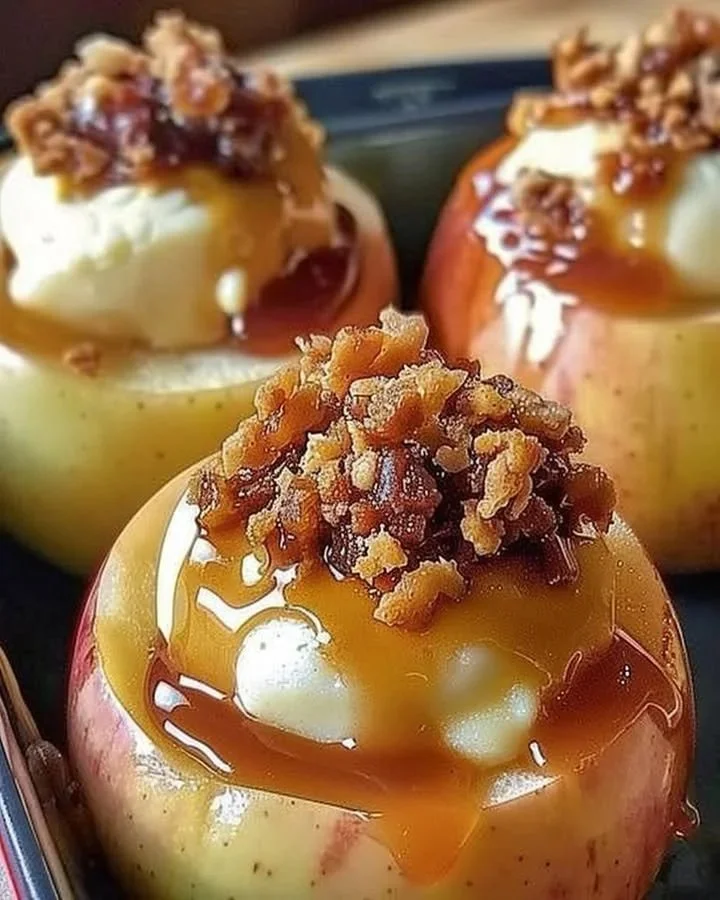
Cheesecake Stuffed Baked Apples are a delightful fusion of two timeless desserts: cheesecake and baked apples. This comforting dish creates a warm, inviting aroma that fills your kitchen, eliciting nostalgic memories of family gatherings and cozy evenings. Easy to make and irresistibly delicious, these treats will impress your family and friends, making them perfect for any occasion. With just a few simple ingredients and minimal prep time, this step-by-step recipe is ideal for both novice and experienced bakers alike.
Ingredients
To craft these delightful Cheesecake Stuffed Baked Apples, gather the following sensory-rich ingredients:
- 4 medium-sized apples (Granny Smith or Honeycrisp), with their crisp texture and tartness that perfectly complements the sweetness of the cheesecake filling.
- 8 oz cream cheese, softened to a velvety, creamy consistency that serves as the base for your cheesecake filling.
- 1/2 cup powdered sugar, adding just the right amount of sweetness and creating a silky-smooth mixture.
- 1 teaspoon vanilla extract, infusing the filling with a warm, aromatic flavor that comforts the soul.
- 1/2 teaspoon ground cinnamon, adding a warm spice that will envelop your senses as the apples bake.
- 1/4 cup graham cracker crumbs, contributing a crumbly texture and a hint of nostalgia, reminiscent of classic cheesecake crusts.
- 1/4 cup chopped nuts (optional), offering a crunchy contrast that elevates the overall texture and flavor.
- 2 tablespoons butter, melted, enriching the apples and enhancing their natural sweetness.
- Whipped cream for serving (optional), adding a luscious touch that makes this dessert even more elegant.
Cooking Time & Tips For Cheesecake Stuffed Baked Apples
When it comes to preparing Cheesecake Stuffed Baked Apples, you’ll appreciate how quickly these come together. On average, the entire process takes about 45 minutes, including prep and baking time. If you’re short on time, opt for a quick preparation method by selecting pre-peeled apples to reduce fuss. However, taking your time ensures a more enjoyable cooking experience, allowing you to savor each step.
For the best results, choose firm apples that can hold their shape when baked. A quick taste test of the filling before stuffing the apples can help adjust sweetness or cinnamon levels to your preference. This is all about personal touch and ensuring every bite is perfect!
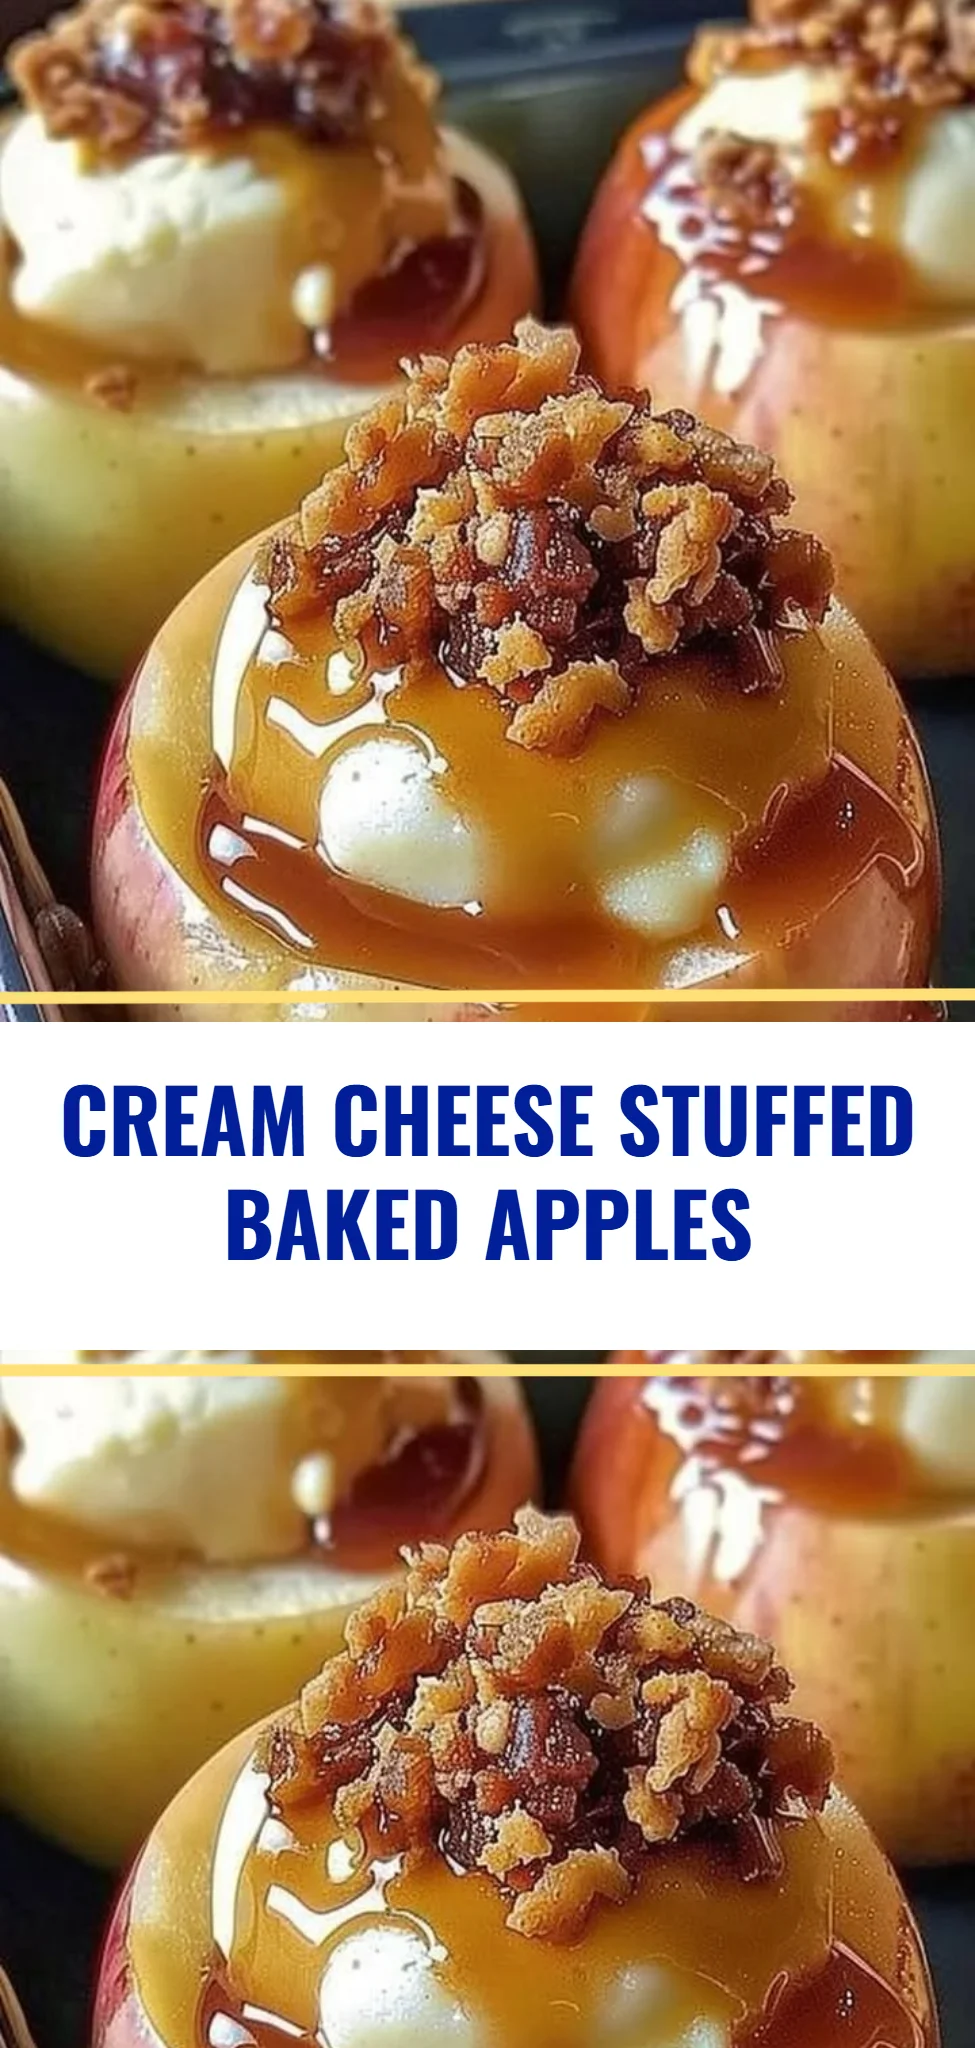
Step-by-Step Directions
Preheat your oven to 350°F (175°C). This is the crucial first step, ensuring your apples bake evenly and come out perfectly tender.
Core the apples, ensuring the bottom is intact. Take care as you hollow out the apples, ensuring you leave enough flesh to support the creamy filling while creating a nice cavity for stuffing.
In a mixing bowl, combine the cream cheese, powdered sugar, vanilla extract, and ground cinnamon. Beat them until smooth. Feel free to get creative as you blend, letting those aromatic scents fill the air around you.
Gently fold in the graham cracker crumbs and if desired, the chopped nuts. The desired crunch of nuts adds texture alongside the creamy cheesecake filling, making for a delightful eating experience.
Generously stuff each apple with the cream cheese mixture, packing it firmly. Don’t be shy; these apples can hold a lot, so make sure they’re well-filled!
Place the stuffed apples upright in a baking dish and drizzle melted butter over them. This butter will enhance their natural sweetness and help them caramelize beautifully in the oven.
Cover the dish with aluminum foil and bake. The foil helps to steam the apples, making them tender and juicy while allowing the filling to melt just enough.
Bake for 25-30 minutes, removing the foil in the last 10 minutes. This will let the tops brown slightly, creating a lovely contrast to the soft apples.
Serve warm with whipped cream if desired. The whipped cream brings an extra layer of indulgence, turning this already delightful dessert into a truly decadent experience.
Serving Suggestions & Occasions
Cheesecake Stuffed Baked Apples are versatile enough for various occasions. Serve them warm as an inviting dessert at family dinners, or package them beautifully to share at potlucks and gatherings. For a comforting evening, indulge in a single baked apple with a cup of tea or hot chocolate while curling up with your favorite book. They also make a fantastic end to holiday meals, offering a lighter alternative to traditional cheesecakes.
Common Mistakes For Cheesecake Stuffed Baked Apples
- Using soft or overripe apples: Select firm apples to avoid mushiness while baking.
- Not coring the apples deep enough: Ensure a substantial hollow to fit the filling snugly.
- Overfilling: While it’s tempting to load them up, overstuffed apples can overflow, creating a mess in the baking dish.
- Skipping the foil: Covering the dish helps retain moisture; skip it, and the apples could dry out.
- Not checking for doneness: Each oven is different. Check the apples around the 25-minute mark to ensure they don’t overbake.
Healthier Alternatives & Variations
There are various ways to adapt Cheesecake Stuffed Baked Apples to fit different dietary preferences. For a healthier twist, use low-fat cream cheese and a sugar substitute in place of powdered sugar. If you’re aiming for a vegan version, opt for plant-based cream cheese and a maple syrup sweetener instead!
Consider adding fresh fruit, such as blueberries or raisins, to the cheesecake mixture for added nutrition and flavor. You may also switch up the nuts for granola or omit them altogether. The variations are endless, allowing for creativity in the kitchen.
FAQs
Can I use other types of apples for this recipe?
Absolutely! While Granny Smith and Honeycrisp are recommended for their balance of tartness and sweetness, any firm apple will work.Is it necessary to peel the apples?
No, you can leave the skins on if you prefer. The texture adds an extra layer of flavor, but peeling is an option for a smoother bite.What can I do with any leftover cheesecake filling?
The filling can be used as a dip for fruit or crackers or spread on toast for a delicious breakfast treat.How should I store leftover baked apples?
Store them in an airtight container in the refrigerator for 2-3 days. Reheat gently in the oven or microwave before serving.Can I freeze the stuffed apples before baking them?
Yes, you can freeze them! Just make sure to wrap them well. Bake them straight from the freezer; just add a few extra minutes to the cooking time.What should I serve with Cheesecake Stuffed Baked Apples?
A dollop of whipped cream or a scoop of vanilla ice cream pairs beautifully with this dessert, along with a drizzle of caramel sauce for an extra touch.
Conclusion
Cheesecake Stuffed Baked Apples are not just another dessert; they are a warm invitation to indulge in creamy, sweet goodness balanced with a tender fruit. The familiar flavors and delightful textures promise to bring smiles around the table. So why wait? Gather your ingredients and embark on this delicious journey today – your taste buds will thank you!
PrintCheesecake Stuffed Baked Apples

A delightful fusion of cheesecake and baked apples, creating a warm and inviting dessert perfect for any occasion.
- Prep Time: 15 minutes
- Cook Time: 30 minutes
- Total Time: 45 minutes
- Yield: 4 servings 1x
- Category: Dessert
- Method: Baking
- Cuisine: American
- Diet: Vegetarian
Ingredients
- 4 medium-sized apples (Granny Smith or Honeycrisp)
- 8 oz cream cheese, softened
- 1/2 cup powdered sugar
- 1 teaspoon vanilla extract
- 1/2 teaspoon ground cinnamon
- 1/4 cup graham cracker crumbs
- 1/4 cup chopped nuts (optional)
- 2 tablespoons butter, melted
- Whipped cream for serving (optional)
Instructions
- Preheat your oven to 350°F (175°C).
- Core the apples, ensuring the bottom is intact.
- Combine the cream cheese, powdered sugar, vanilla extract, and ground cinnamon in a mixing bowl and beat until smooth.
- Fold in the graham cracker crumbs and chopped nuts if desired.
- Stuff each apple with the cream cheese mixture, packing it firmly.
- Place the stuffed apples upright in a baking dish and drizzle with melted butter.
- Cover the dish with aluminum foil and bake.
- Bake for 25-30 minutes, removing the foil in the last 10 minutes.
- Serve warm with whipped cream if desired.
Notes
Choose firm apples for the best texture; adjust sweetness of the filling to your liking.
Nutrition
- Serving Size: 1 apple
- Calories: 320
- Sugar: 22g
- Sodium: 160mg
- Fat: 18g
- Saturated Fat: 10g
- Unsaturated Fat: 8g
- Trans Fat: 0g
- Carbohydrates: 36g
- Fiber: 4g
- Protein: 4g
- Cholesterol: 40mg