Homemade Cherry Ice Cream
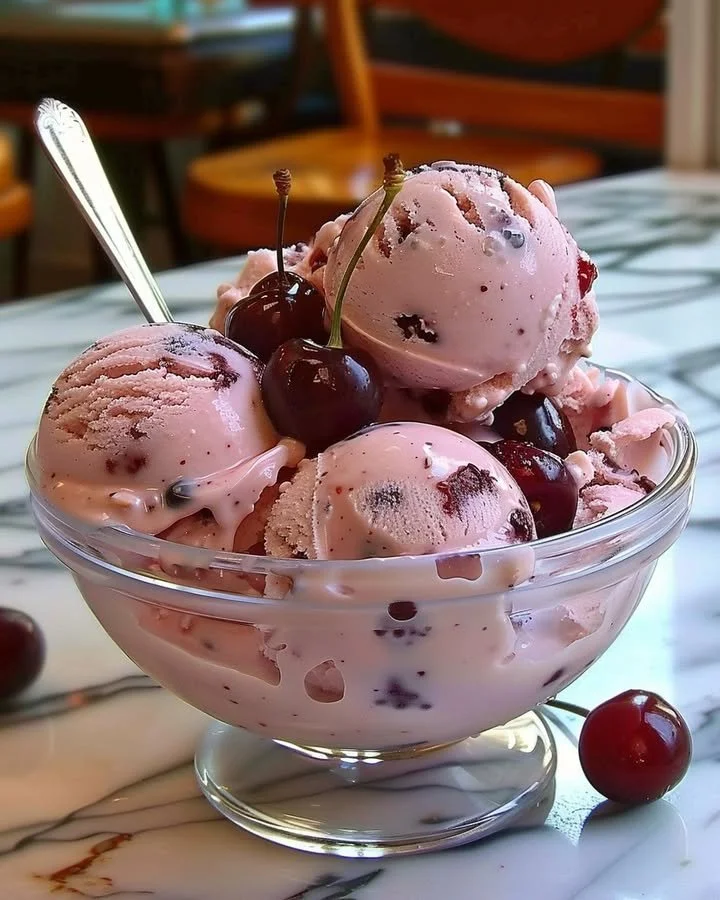
Summer is synonymous with joy, sunshine, and sweet treats, and nothing embodies this season quite like homemade cherry ice cream. This delightful recipe is a step-by-step journey into creamy bliss, where luscious cherries meet velvety ice cream, evoking feelings of nostalgia and warmth. Picture yourself scooping this rich, pink delicacy into bowls, your senses awakened by the vibrant aromas of fresh cherries and sweet vanilla. With each luscious bite, you’ll experience the creamy texture melting on your tongue, reminding you of carefree summer days.
History / Fun Fact
The origins of ice cream can be traced back to ancient China, where a mixture of milk and rice was packed in snow, creating the first frozen treat. However, cherry ice cream specifically has roots in the United States, gaining popularity in the 19th century. It was created as a way to preserve the bountiful harvests of cherries during the summer months. Today, homemade cherry ice cream remains a favorite due to its refreshing taste and the joy it brings to family gatherings and summer celebrations.
Ingredients
Let’s dive into the luscious ingredients that create this heavenly treat! Begin with 2 cups of heavy cream, the foundation of your ice cream, adding a rich and creamy mouthfeel. Complement it with 1 cup of whole milk, which creates a light and smooth texture. Add 3/4 cup of granulated sugar, the sweet magic that harmonizes all flavors and balances the tartness of the cherries. A splash of 1 teaspoon of vanilla extract infuses warmth, while 2 cups of fresh cherries, pitted and chopped, offer bursts of vibrant flavor. A dash of 1 tablespoon of lemon juice brightens the cherries, enhancing their natural sweetness. For an option, sprinkle in 1/2 teaspoon of almond extract, introducing a nutty complexity. If you dream of a thicker texture, feel free to add 1 tablespoon of cornstarch, transforming your ice cream into a creamy dream.
Cooking Time & Tips For Homemade Cherry Ice Cream
The beauty of homemade cherry ice cream lies in its adaptability. For the busy bees, quick preparation means mixing and churning, resulting in a lovely treat in just a few hours. However, those who cherish the artistry of ice cream-making may opt for a slower, more intentional approach, allowing each ingredient to shine through. Whichever method you choose, success lies in attention to detail: use fresh, ripe cherries for that juicy flavor, and don’t rush the chilling process – this is when the flavors truly develop. Keep your ice cream maker ready and chilled for the best results!
Step-by-Step Directions
Begin your journey by combining 2 cups of heavy cream, 1 cup of whole milk, and 3/4 cup of granulated sugar in a medium saucepan. As you heat this creamy concoction over medium heat, you’ll feel the anticipation rise with the warm, comforting aroma wafting through your kitchen. Gently stir the mixture until the sugar dissolves completely.
In a separate small bowl, mix 1 tablespoon of cornstarch with 2 tablespoons of milk, forming a silky slurry. Gradually stir this slurry into the warm cream mixture. Continue to heat, stirring constantly. Watch as it transforms, thickening slightly into a smooth, custard-like base—a delightful consequence of your patience. After about 5-7 minutes, once the mixture thickens, remove it from the heat, and stir in 1 teaspoon of vanilla extract and 1/2 teaspoon of almond extract if you seek that added depth.
Let this warm mixture cool to room temperature. While it cools, take your 2 cups of pitted and chopped cherries and toss them with 1 tablespoon of lemon juice in a bowl. This step preserves their vibrant color and enhances their rich flavor, infusing each spoonful with fruity goodness.
Once the ice cream base has cooled, pour it into your ice cream maker and churn according to the manufacturer’s instructions. The churner whirls your mixture into a soft serve texture, and just before it’s done, gently fold in the prepared cherries, ensuring every scoop is filled with fruity treasures.
Transfer this luscious concoction to an airtight container and freeze for at least 4 hours, allowing it to set into a delightful, firm scoop. When the time’s up, serve your homemade cherry ice cream and prepare to indulge in an unforgettable experience!
Serving Suggestions & Occasions
Homemade cherry ice cream is perfect for summer gatherings, barbecues, or cozy nights in. Serve it in charming bowls or on crispy sugar cones for an old-school delight. For a special touch, drizzle with a homemade cherry sauce or sprinkle toasted almonds on top. This ice cream pairs beautifully with chocolate cakes or pies for dessert. Share it with friends and family, or enjoy a quiet moment savored on its own, as each bite takes you on a nostalgic journey.
Common Mistakes For Homemade Cherry Ice Cream
Even the best of us can make mistakes in the kitchen. One common pitfall is not ensuring your cream mixture is adequately cooled before churning—this can lead to icy ice cream rather than the silky delight you desire. Another error is ignoring the quality of cherries; using overripe or mediocre fruit can dull the flavor. Be cautious about over-churning; that’s a surefire way to end up with a grainy texture. And remember – don’t skip the lemon juice! It preserves the cherries’ vibrancy and prevents browning.
Healthier Alternatives & Variations
For those seeking a healthier ice cream alternative, consider using coconut milk for a dairy-free twist. You can also substitute the granulated sugar with natural sweeteners like honey or agave syrup, which can enhance flavors while reducing refined sugar content. Experiment with different fruit combinations, such as blueberries or strawberries, in place of cherries for delightful variations. If you’re feeling adventurous, try adding a handful of dark chocolate chips or a swirl of homemade berry compote for an irresistible flavor boost.
FAQs
Can I use frozen cherries for this recipe?
Yes! Frozen cherries work well; just ensure to thaw and drain any excess liquid before adding them to your mixture.Do I need an ice cream maker to make this recipe?
While an ice cream maker produces the best texture, you can also freeze the mixture in a container, stirring every 30 minutes to break up ice crystals.How long will homemade cherry ice cream last in the freezer?
Typically, homemade ice cream can last up to 2 weeks in the freezer if stored in an airtight container.Can I make this ice cream without cornstarch?
Yes, cornstarch is optional. It helps thicken the mixture but can be omitted if desired.How can I tell when my ice cream is done churning?
When the mixture has thickened to a soft-serve consistency and clings to the paddle, it’s ready to be mixed with the cherries.Is it possible to reduce the sugar in this recipe?
Absolutely! Feel free to adjust the sugar based on your sweetness preference or use alternative sweeteners.
Conclusion
Now that you’ve discovered the joy of making homemade cherry ice cream, it’s time to bring this delightful creation to life in your kitchen. The vibrant colors, rich textures, and the sheer pleasure of enjoying this sweet treat on a sunny day are irresistible. Imagine sharing luscious scoops with loved ones or indulging solo, savoring each moment as it melts away. Don’t wait too long—gather your ingredients and take action now; your taste buds beckon for this unforgettable summer delight!