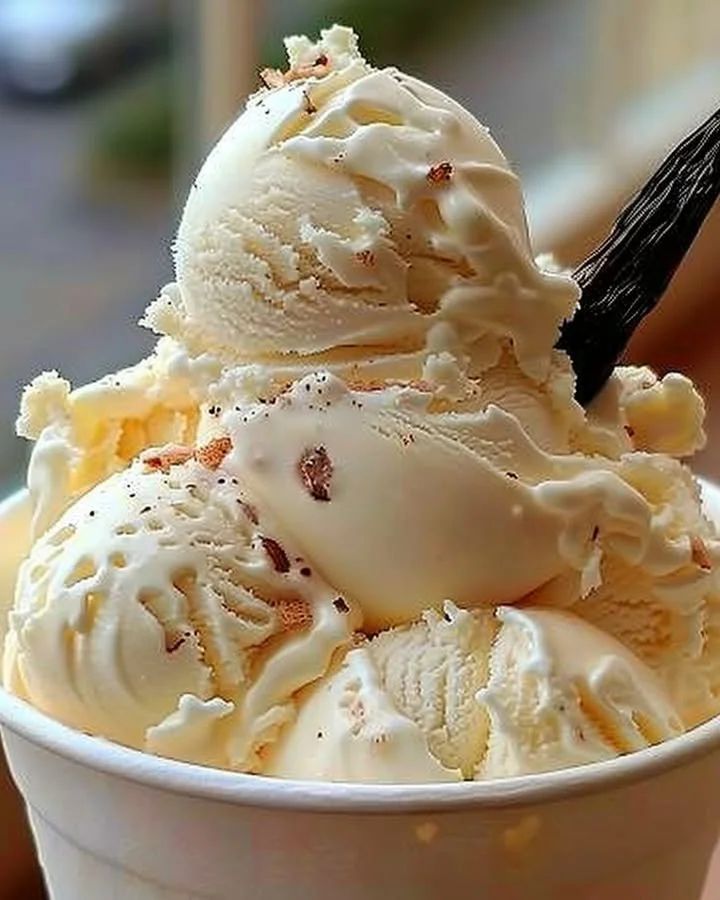
Homemade Vanilla Ice Cream is a delightful treat that brings back memories of summer days and family gatherings. This creamy, rich ice cream is simply irresistible and offers a comforting indulgence that is perfect for any occasion. The beauty of making your own ice cream lies in its simplicity and the satisfaction of creating something delicious from scratch. With just a few ingredients and a step-by-step method, you can create a homemade dessert that will impress friends and family alike.
Why You’ll Love This Recipe
This Homemade Vanilla Ice Cream recipe is truly a crowd-pleaser, easily winning the hearts of both children and adults. One of the best aspects of this recipe is its easy preparation, allowing you to whip it up quickly and spend more time enjoying it with loved ones. It features minimal ingredients, yet the flavor is rich and pronounced, making it a fantastic choice for those who appreciate quality over quantity. The simplicity of the recipe ensures that even novice cooks can create a delightful dessert.
Ingredients
- 2 cups (480ml) heavy cream
- 1 cup (240ml) whole milk
- 3⁄4 cup (150g) granulated sugar
- 1 vanilla bean (or 2 tsp pure vanilla extract)
- 4 large egg yolks
- A pinch of salt
Gather these ingredients to make your ice cream dream a reality. The heavy cream brings a luscious, creamy texture, while the whole milk balances the richness to create a smooth base. Granulated sugar adds just the right amount of sweetness to enhance the natural flavor of vanilla, which will envelop your senses as it churns. The vanilla bean, with its aromatic seeds, creates a depth that makes this ice cream truly special. Egg yolks offer a custardy richness that elevates this simple treat into a gourmet experience. Don’t forget the pinch of salt—it’s the secret ingredient that amplifies all those delicious flavors!
Step-by-Step Directions
In a medium saucepan, combine the heavy cream, whole milk, and granulated sugar. Heat over medium heat, stirring occasionally until the mixture is hot but not boiling. The delicate dance of heat will coax out the flavors and meld the ingredients into a decadent base.
Split the vanilla bean in half lengthwise and scrape out the seeds. Add the seeds and the bean pod to the saucepan. If you prefer using vanilla extract, hold off on adding it until after you remove the saucepan from the heat to keep that vibrant flavor intact.
In a separate bowl, whisk the egg yolks with a pinch of salt until they become pale and slightly thickened—this will introduce air into your ice cream and create a luscious texture.
Gradually pour a small amount of the hot milk mixture into the egg yolks, whisking constantly to temper the yolks. This step is essential to avoid scrambling the eggs—no one wants a grainy texture in their ice cream!
Continue adding the milk mixture slowly while whisking, until fully combined. Pour this lovely egg mixture back into the saucepan with the remaining milk and cream.
Cook over low heat, stirring constantly, until the mixture thickens slightly and coats the back of a spoon—this should reach about 170°F or 77°C. The anticipation will build as the base transforms into a velvety custard.
Strain the custard through a fine-mesh sieve into a clean bowl to remove the vanilla bean pod and any curdled egg bits. This step ensures that your final product is silky smooth.
Let the custard cool to room temperature, then cover and refrigerate for at least 4 hours, or overnight. This waiting period allows the flavors to deepen and develop, resulting in a more delicious ice cream.
Once chilled, churn the custard in an ice cream maker according to the manufacturer’s instructions. The sound of the machine will signal that your delicious creation is nearing perfection!
Transfer the ice cream to an airtight container and freeze for 4 hours or until firm. Resist the temptation to taste test until it’s fully frozen—though it will be hard to wait!
Tips & Tricks
To elevate your Homemade Vanilla Ice Cream, consider experimenting with mix-ins! Chunks of chocolate, fresh berries, or toasted nuts make fantastic additions that provide delightful textures and flavors. If you prefer a lighter version, you can substitute part of the heavy cream with coconut cream for a tropical twist. Remember, patience is key; allowing your ice cream to set fully in the freezer will enhance its texture and flavor.
Serving Suggestions & Pairings
This Homemade Vanilla Ice Cream is delicious on its own, but it pairs harmoniously with a variety of desserts. Serve it alongside warm chocolate cake or pie for a classic sundae experience. It’s also a fantastic addition to milkshakes or affogatos, offering a creamy contrast to hot espresso. Perfect for summer barbecues, family gatherings, or simply as a sweet treat to enjoy on a quiet evening, this ice cream brings smiles all around.
Nutritional Information
This recipe yields about 8 servings of homemade ice cream. Each serving contains approximately 250 calories, with 16g of fat, 23g of carbohydrates, and 3g of protein. While it’s important to enjoy indulgent treats like ice cream in moderation, pairing it with healthier desserts, such as fruit, can help balance your meal.
Storing Tips & Variations
To store your Homemade Vanilla Ice Cream, transfer it to an airtight container and keep it in the freezer. It will last about 2-3 months, though it’s unlikely to stick around that long! To achieve the creamiest texture, let the ice cream sit at room temperature for about 5-10 minutes before scooping to soften it slightly. If you want to mix things up, try infusing the base with other flavors like mint, coffee, or fruit purées during the cooking process—just be sure to keep the proportions balanced for the best results.
Conclusion
Homemade Vanilla Ice Cream is an extraordinary treat that is both easy to make and utterly delicious. With its creamy texture and rich flavor, this ice cream is sure to become a favorite in your home. We encourage you to try this recipe and share your experience with friends and family. It’s time to indulge in the nostalgic sweetness of homemade ice cream!
FAQs
Can I use low-fat milk instead of whole milk?
While you can use low-fat milk, keep in mind that it may affect the creaminess of the ice cream. For the best texture, whole milk is recommended.Can I make this recipe without an ice cream maker?
Yes! You can pour the custard into a shallow dish and freeze it, stirring every 30 minutes until it reaches the desired consistency, though it may require more time and effort.How long does homemade ice cream last in the freezer?
Homemade ice cream can last in the freezer for about 2-3 months if stored properly in an airtight container.Can I add chocolate or fruit to this vanilla ice cream?
Absolutely! Mix in chocolate chips, fruit pieces, or nuts during the last few minutes of churning for added flavor and texture.Is vanilla extract as good as using a vanilla bean?
While vanilla extract is convenient, using a vanilla bean offers deeper, richer flavors and a delightful speckled appearance that many people prefer in homemade ice cream. Try both to see which you like best!
Homemade Vanilla Ice Cream

A creamy and rich vanilla ice cream that’s perfect for any occasion.
- Prep Time: 15 minutes
- Cook Time: 30 minutes
- Total Time: 45 minutes
- Yield: 8 servings 1x
- Category: Dessert
- Method: Churning
- Cuisine: American
- Diet: Vegetarian
Ingredients
- 2 cups (480ml) heavy cream
- 1 cup (240ml) whole milk
- 3/4 cup (150g) granulated sugar
- 1 vanilla bean (or 2 tsp pure vanilla extract)
- 4 large egg yolks
- A pinch of salt
Instructions
- Combine the heavy cream, whole milk, and granulated sugar in a medium saucepan; heat over medium until hot but not boiling.
- Split the vanilla bean in half and scrape out the seeds, adding both to the saucepan.
- Whisk the egg yolks with a pinch of salt in a separate bowl until pale and thickened.
- Gradually pour hot milk mixture into the yolks, whisking constantly to temper them.
- Pour the egg mixture back into the saucepan with the remaining milk and cream.
- Cook over low heat, stirring, until it thickens slightly and coats the back of a spoon.
- Strain the custard through a fine-mesh sieve to remove the vanilla pod and any curdled egg bits.
- Cool the custard to room temperature, then cover and refrigerate for at least 4 hours or overnight.
- Churn the custard in an ice cream maker according to manufacturer instructions.
- Transfer the ice cream to an airtight container and freeze for 4 hours or until firm.
Notes
Experiment with mix-ins like chocolate, berries, or nuts for added flavor. Patience is key for the best texture!
Nutrition
- Serving Size: 1 serving
- Calories: 250
- Sugar: 23g
- Sodium: 80mg
- Fat: 16g
- Saturated Fat: 10g
- Unsaturated Fat: 5g
- Trans Fat: 0g
- Carbohydrates: 24g
- Fiber: 0g
- Protein: 3g
- Cholesterol: 180mg