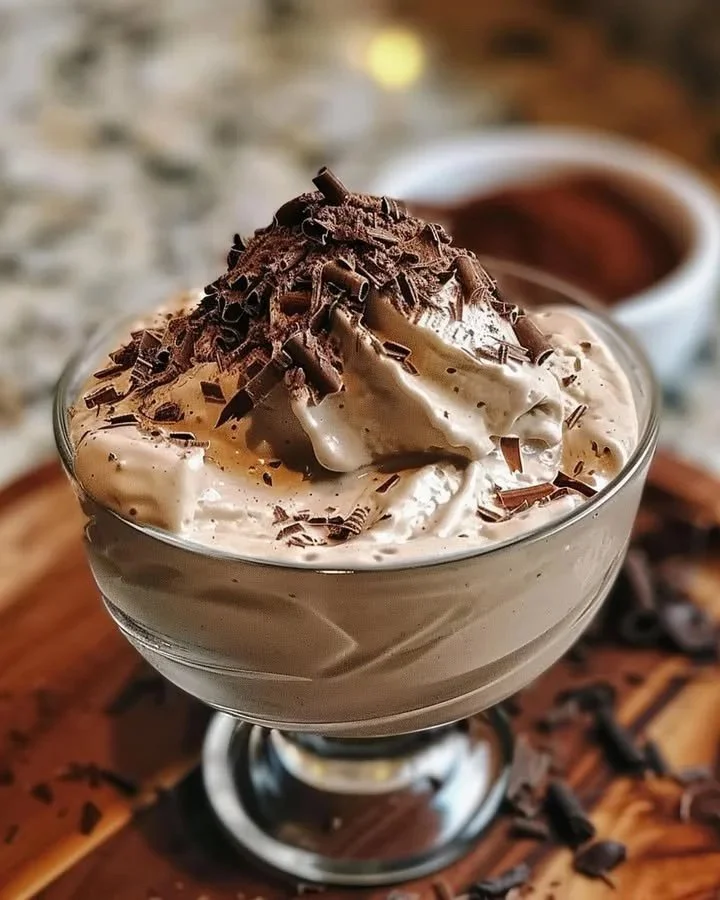
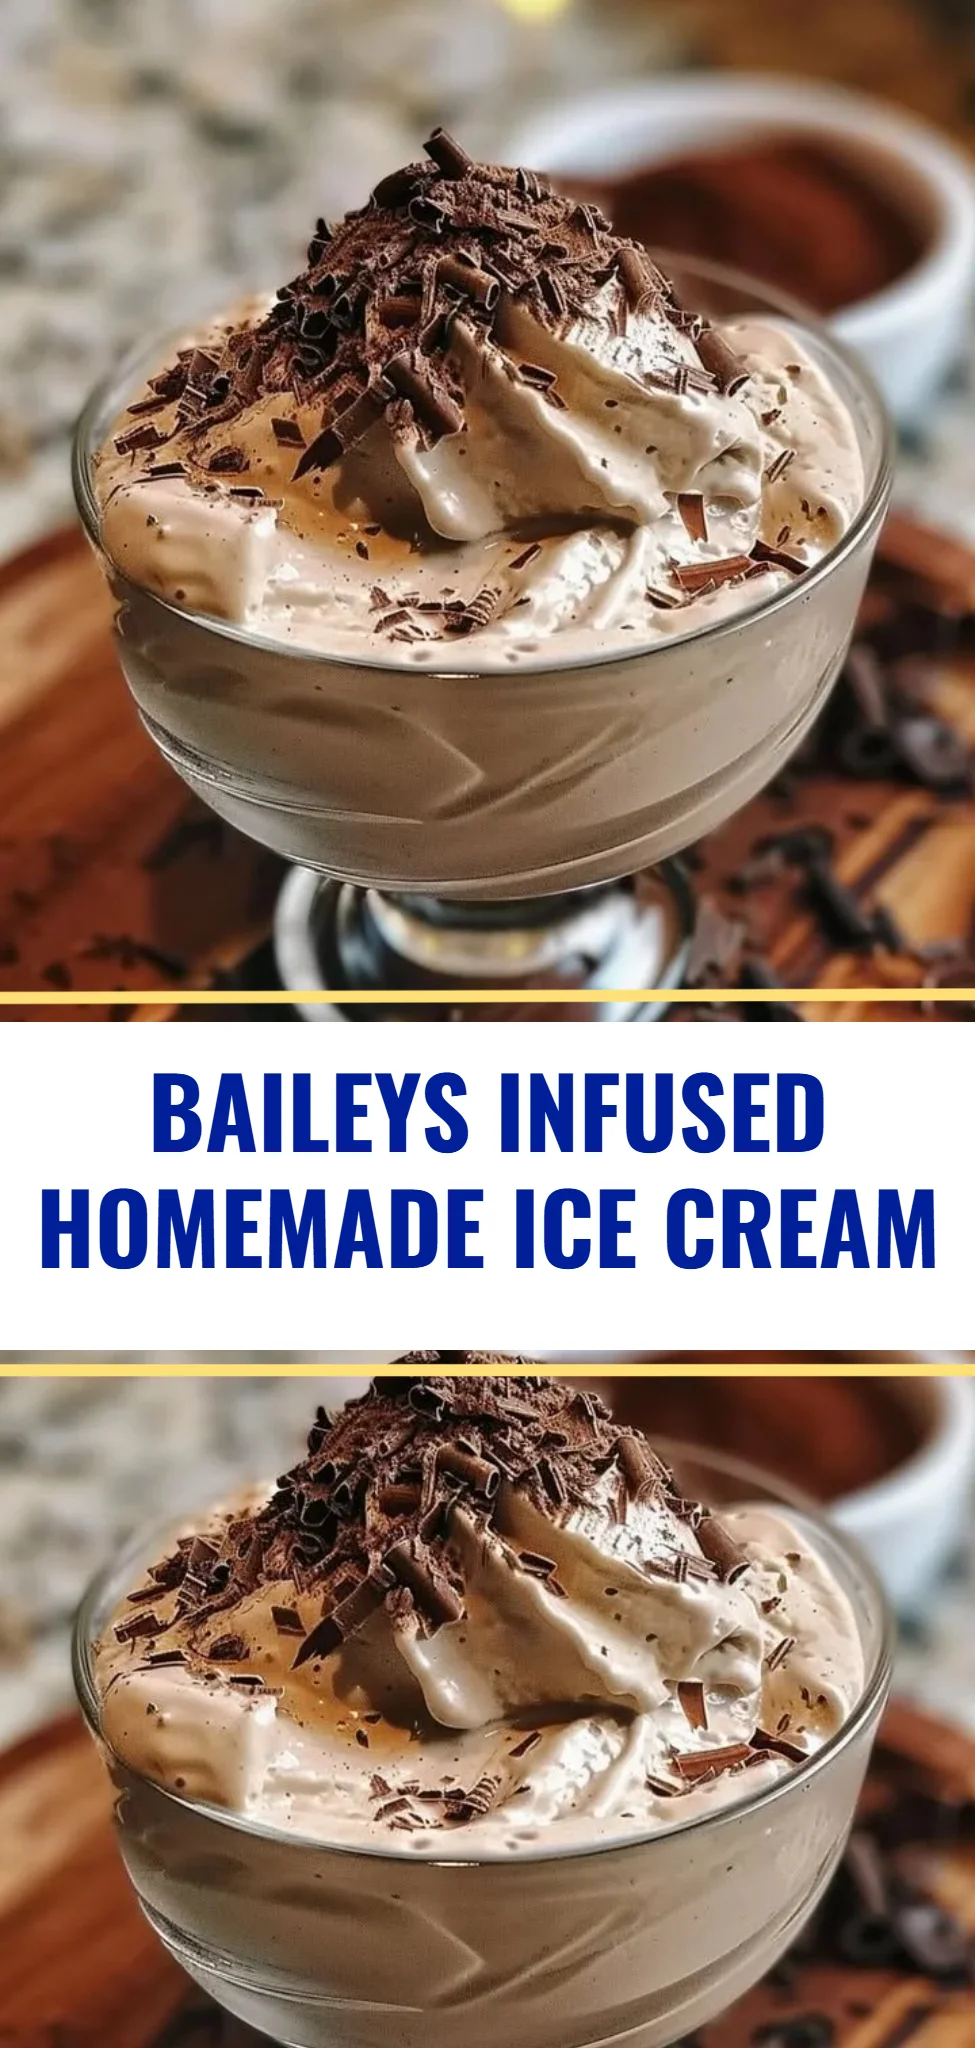
Homemade Baileys Ice Cream is a delightful treat that combines the creamy richness of ice cream with a touch of nostalgia. This indulgent dessert is perfect for late-night cravings, summer gatherings, or simply when you need a little comfort food. Imagine the creamy texture melting in your mouth, the bittersweet cocoa and the aromatic vanilla dancing on your taste buds. This easy, step-by-step recipe will guide you through creating your very own homemade version that everyone in the family will love.
Ingredients
To make your Homemade Baileys Ice Cream, you will need the following ingredients that create a spectacular fusion of flavors:
- 2 cups heavy cream: Thick and velvety, giving the ice cream its luxurious base.
- 1 cup whole milk: Adding creaminess while keeping the texture light.
- 3/4 cup granulated sugar: Sweetening the ice cream to perfection, enhancing the flavors.
- 1 teaspoon vanilla extract: Bringing warmth and depth to the dish with its aromatic notes.
- 1 cup non-alcoholic chocolate syrup: For a decadent chocolate twist, perfect for this recipe while keeping it suitable for all.
- 1/4 cup cocoa powder: Adding a deep chocolate flavor that complements the creaminess.
Cooking Time & Tips For Homemade Baileys Ice Cream
Making Homemade Baileys Ice Cream can be quick or leisurely depending on how you approach it. If you’re short on time, the entire process can be done in about 30 minutes, with a few additional hours for freezing. However, for the best flavor, consider preparing it the night before to let the ingredients meld beautifully.
Practical tips for success include allowing your mixture to cool completely before churning. This ensures a smoother texture. Make sure your ice cream maker is prepped and frozen, as a well-chilled bowl will yield a better consistency.
Step-by-Step Directions
Begin by taking a medium saucepan and combining the heavy cream, whole milk, and granulated sugar. Over medium heat, stir the mixture occasionally until the sugar is completely dissolved. The creamy aroma will start to fill your kitchen, hinting at the delicious ice cream to come.
In a small bowl, whisk the cocoa powder with a ladle of the warm milk mixture until smooth. This step ensures there are no lumps. Once smooth, stir this chocolaty mixture back into the saucepan. The rich chocolate will begin to infuse into the creamy base.
Remove the saucepan from the heat and mix in the vanilla extract and non-alcoholic chocolate syrup. Stir gently, and watch as the mixture transforms into a beautiful chocolate cream that is irresistible!
Allow the mixture to cool down to room temperature. Once cooled, transfer it to the refrigerator for at least 2 hours, or ideally overnight. This chilling step is crucial for flavor development.
After chilling, pour the mixture into your ice cream maker and churn according to the manufacturer’s instructions. This process usually takes about 20-25 minutes, and you’ll notice your ice cream beginning to thicken and take on a soft-serve consistency.
Transfer the churned ice cream into an airtight container, smoothing the top. Freeze for at least 4 hours until it is firm, allowing you to scoop out perfect servings.
Once you’re ready to indulge, scoop out your Homemade Baileys Ice Cream into bowls or cones, and enjoy every delightful bite!
Serving Suggestions & Occasions
Homemade Baileys Ice Cream is versatile and perfect for various occasions. Serve it on a warm sunny day, topped with chocolate shavings, or alongside a slice of your favorite pie. Consider adding it to a sundae bar at a birthday party or serve it as a comforting dessert after family dinners. The rich flavors pair beautifully with fresh fruits like strawberries or raspberries, providing a fresh contrast.
Common Mistakes For Homemade Baileys Ice Cream
Creating the perfect ice cream can be challenging. Common mistakes include not allowing the mixture to cool completely before churning, which can affect the texture. Skipping the chilling time in the refrigerator may result in an icy rather than creamy consistency. Make sure to follow each step closely for the best results.
Healthier Alternatives & Variations
While this recipe is indulgent, there are healthier alternatives. You could substitute the heavy cream for coconut milk or Greek yogurt for a lighter version, while keeping the sweetness natural with honey or agave syrup. For variations, try adding mix-ins such as chopped nuts, crushed cookies, or even a swirl of caramel sauce for added texture and flavor.
FAQs
Can I make this ice cream without an ice cream maker?
Yes! You can freeze the mixture in a container, stirring it every 30 minutes until firm.How long does Homemade Baileys Ice Cream last in the freezer?
It typically lasts about 2-3 weeks when stored properly in an airtight container.Can I use dairy alternatives?
Absolutely! Almond milk, oat milk, or any non-dairy cream can work well in this recipe.What if I don’t have cocoa powder?
You could omit it for a classic vanilla-flavored ice cream or substitute it with chocolate chips for texture.Is this ice cream suitable for kids?
Yes, as long as the chocolate syrup used is non-alcoholic and kid-friendly.Can I add more flavor to the ice cream?
Certainly! You can incorporate other flavorings, like coffee, or even mint extract, for a unique twist.
Conclusion
Now that you’ve learned the secrets behind making the most delicious Homemade Baileys Ice Cream, it’s time to put your skills to the test. This rewarding dessert is just waiting to be enjoyed by you and your loved ones. With its rich and creamy texture, every scoop will remind you why making it at home is so much better. Don’t hesitate—try this recipe immediately for a sweet treat that’s sure to impress!
PrintHomemade Baileys Ice Cream
A creamy and indulgent homemade Baileys ice cream, perfect for any occasion.
- Prep Time: 30 minutes
- Cook Time: 0 minutes
- Total Time: 30 minutes plus freezing
- Yield: 4 servings 1x
- Category: Dessert
- Method: Churning
- Cuisine: American
- Diet: Vegetarian
Ingredients
- 2 cups heavy cream
- 1 cup whole milk
- 3/4 cup granulated sugar
- 1 teaspoon vanilla extract
- 1 cup non-alcoholic chocolate syrup
- 1/4 cup cocoa powder
Instructions
- Combine the heavy cream, whole milk, and granulated sugar in a medium saucepan. Heat over medium, stirring occasionally until the sugar dissolves.
- Whisk the cocoa powder with a ladle of the warm milk mixture in a small bowl until smooth, then stir back into the saucepan.
- Remove from heat and mix in the vanilla extract and non-alcoholic chocolate syrup until well combined.
- Cool the mixture to room temperature, then refrigerate for at least 2 hours or overnight.
- Pour the chilled mixture into your ice cream maker and churn according to the manufacturer’s instructions for about 20-25 minutes.
- Transfer the churned ice cream into an airtight container and freeze for at least 4 hours until firm.
- Scoop the ice cream into bowls or cones and enjoy!
Notes
Allow the mixture to cool completely before churning for the best texture. Chilling the mixture overnight enhances the flavor.
Nutrition
- Serving Size: 1 serving
- Calories: 350
- Sugar: 35g
- Sodium: 100mg
- Fat: 22g
- Saturated Fat: 13g
- Unsaturated Fat: 7g
- Trans Fat: 0g
- Carbohydrates: 30g
- Fiber: 1g
- Protein: 5g
- Cholesterol: 80mg