Cherry Blossom Ice Cream
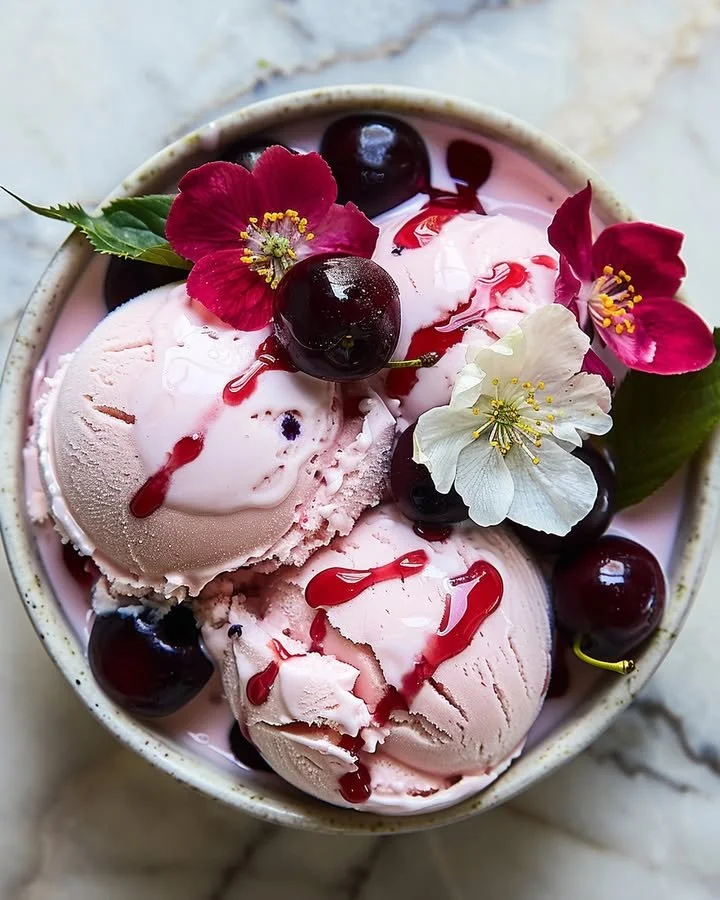
Cherry Blossom Ice Cream is a delightful frozen treat that sings of spring with every silky scoop. The enchanting flavors of cherry blossoms transport you to serene sakura-lined streets, making this ice cream more than just a dessert; it’s an experience. The velvety mixture, swirled with notes of sweet cherry, creates a harmony that dances on your palate, allowing you to relish each bite. In this recipe, we’ll take you through a step-by-step process to create this captivating treat that’s perfect for any occasion.
Why You’ll Love This Recipe
Imagine the joy of creating a dessert that not only pleases your taste buds but also captivates your senses. This Cherry Blossom Ice Cream is easy to prepare, making it a family-friendly activity that can involve everyone, from the youngest bakers to seasoned adults in the kitchen. It requires minimal ingredients, which means less fuss and more fun! The classic combination of creamy bases and floral notes delivers a sophisticated yet simple dessert that can be whipped up in no time. This quick dessert will surely become a go-to favorite in your recipe arsenal.
Ingredients for Cherry Blossom Ice Cream
Gather these colorful and fragrant ingredients for a delightful Cherry Blossom Ice Cream experience:
- 2 cups heavy cream: The creamy base that brings richness to every scoop.
- 1 cup sweetened condensed milk: Adds a sweet, velvety texture perfect for ice cream.
- 1/2 cup cherry blossom extract or sakura syrup: Infuses a delicate floral flavor.
- 1/2 cup cherry syrup: Optional for drizzling, offering an extra hint of vibrant cherry flavor.
- Edible flowers for garnish: Optional, but they add an elegant touch to the presentation.
Step-by-Step Directions for Cherry Blossom Ice Cream
To prepare this Cherry Blossom Ice Cream, start with the following steps:
In a large mixing bowl, combine the heavy cream and sweetened condensed milk. Whisk them together until smooth and well-combined. This creamy concoction serves as the foundation for your ice cream.
Next, gently incorporate the cherry blossom extract or sakura syrup into the mixture. Stir thoroughly until the flavors meld beautifully.
If you’re looking to amplify the cherry flavor, consider adding the optional cherry syrup now, or leave it aside for drizzling later on top of the finished ice cream.
Pour the mixture into an ice cream maker, and churn according to the manufacturer’s instructions. You’re aiming for a soft-serve consistency, so don’t be alarmed if it appears slightly fluffy.
After churning, transfer the ice cream to an airtight container. If using cherry syrup, take a spoon and gently swirl it into the ice cream to create stunning ribbons of color before sealing it up.
Freeze the ice cream for at least 4 hours, or until it’s perfectly firm.
When it’s time to serve, scoop the ice cream into elegant bowls or cones and lavishly top with edible flowers for a charming presentation.
Tips & Tricks
For the best results with your Cherry Blossom Ice Cream, keep these chef’s secrets in mind:
- Ensure your mixing bowl and beater attachments are chilled before use; this helps the cream whip faster and more effectively.
- To keep the ice cream creamy, use full-fat heavy cream; low-fat creams can cause your ice cream to become icy.
- Consider adding a sprinkle of flaky sea salt on top before serving for a contrasting flavor that enhances the sweetness.
- Try adding mix-ins like chopped dark chocolate or nuts to the base before freezing—for extra texture and taste!
Serving Suggestions & Pairings
When it comes to serving Cherry Blossom Ice Cream, creativity reigns supreme. Serve it in a waffle cone for a classic twist, or in a dish embellished with fresh fruit. Complement your ice cream with a drizzle of extra cherry syrup for visual appeal and richness. It pairs wonderfully with light desserts, such as fruit tarts or a simple sponge cake. For an elevated experience, serve alongside green tea to provide a beautiful balance of flavors.
Nutritional Information
The nutritional profile of Cherry Blossom Ice Cream can vary slightly based on specific ingredients and portion sizes, but here’s an approximate breakdown per serving:
- Calories: 250
- Total Fat: 16g
- Saturated Fat: 10g
- Carbohydrates: 28g
- Sugars: 25g
- Protein: 3g
While this ice cream is indulgent, every scoop is made with love, inviting you to treat yourself occasionally without guilt.
Storing Tips & Variations for Cherry Blossom Ice Cream
To store your Cherry Blossom Ice Cream, keep it in an airtight container in the freezer. It’s best enjoyed within a week for optimal texture and flavor, but it can last for up to a month. If you find the ice cream has become too hard, let it sit at room temperature for a few minutes before scooping. For variations, you can substitute cherry blossom extract with flavors like rose or vanilla, or add crushed nuts and chocolate chips for a rich twist!
Conclusion for Cherry Blossom Ice Cream
With its delicate balance of creamy richness and floral sweetness, Cherry Blossom Ice Cream is a dessert that invites everyone to slow down and savor every bite. Its effortless preparation makes it a perfect sweet treat for gatherings, seasonal celebrations, or simply a lovely evening at home. Dive into this recipe right away and bring the essence of cherry blossoms into your kitchen!
FAQs
Can I make Cherry Blossom Ice Cream without an ice cream maker?
Yes! Simply pour the mixture into a shallow dish and freeze it. Stir every 30 minutes for about 3-4 hours to achieve a creamy texture.How can I make this recipe dairy-free?
Substitute heavy cream with coconut cream and use a plant-based condensed milk alternative. Ensure the cherry blossom extract is also dairy-free.What other flavors can I add to this base?
You can experiment by adding different floral extracts like rose, or even classic flavors such as vanilla or almond.How long does this ice cream last in the freezer?
For the best taste and texture, consume it within a week. However, it can last up to a month if stored properly.Can I use real cherry blossoms?
Yes, but ensure they are from a pesticide-free source and safe for consumption. Use them sparingly as a garnish for a unique touch.
Cherry Blossom Ice Cream

A delightful frozen treat that captures the essence of spring with enchanting cherry blossom flavors.
- Prep Time: 15 minutes
- Cook Time: 0 minutes
- Total Time: 255 minutes
- Yield: 4 servings 1x
- Category: Dessert
- Method: Freezing
- Cuisine: Japanese
- Diet: Vegetarian
Ingredients
- 2 cups heavy cream
- 1 cup sweetened condensed milk
- 1/2 cup cherry blossom extract or sakura syrup
- 1/2 cup cherry syrup (optional)
- Edible flowers for garnish (optional)
Instructions
- In a large mixing bowl, combine the heavy cream and sweetened condensed milk. Whisk them together until smooth and well-combined.
- Next, gently incorporate the cherry blossom extract or sakura syrup into the mixture. Stir thoroughly until the flavors meld beautifully.
- If you’re looking to amplify the cherry flavor, consider adding the optional cherry syrup now, or leave it aside for drizzling later.
- Pour the mixture into an ice cream maker, and churn according to the manufacturer’s instructions.
- After churning, transfer the ice cream to an airtight container.
- Freeze the ice cream for at least 240 minutes, or until it’s perfectly firm.
- When it’s time to serve, scoop the ice cream into elegant bowls or cones and top with edible flowers.
Notes
Ensure mixing bowl and beater attachments are chilled before use. Use full-fat heavy cream for creaminess.
Nutrition
- Serving Size: 1 serving
- Calories: 250
- Sugar: 25g
- Sodium: 100mg
- Fat: 16g
- Saturated Fat: 10g
- Unsaturated Fat: 6g
- Trans Fat: 0g
- Carbohydrates: 28g
- Fiber: 0g
- Protein: 3g
- Cholesterol: 50mg