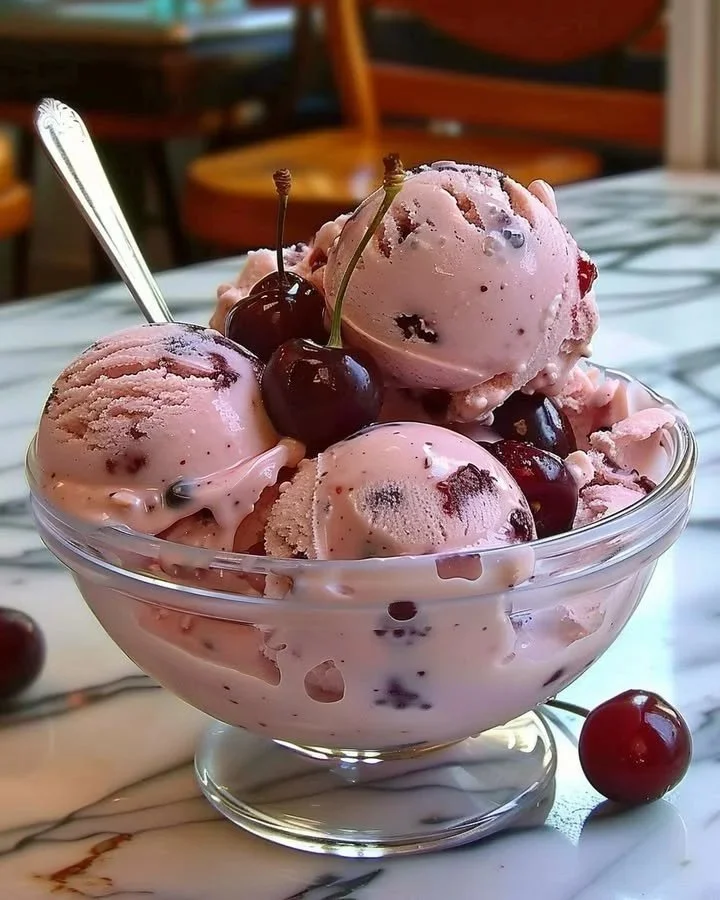
Homemade Cherry Ice Cream is a delightful treat that evokes fond memories of summertime, picnics, and sun-drenched days. This creamy, luscious dessert will surely bring joy to your family and friends. With its vibrant cherry flavor and smooth texture, making this recipe is a wonderful way to capture the essence of fresh, ripe cherries at their peak. Easy to prepare and incredibly satisfying, this step-by-step guide will help you craft a homemade ice cream that’s comforting and nostalgic—a dessert that everyone will adore.
Ingredients
To create a bowl of rich and decadent Homemade Cherry Ice Cream, you will need a harmonious blend of wholesome ingredients that work together to create a delightful experience. Here’s what you need:
- 2 cups of heavy cream, providing that luscious, creamy texture
- 1 cup of whole milk, giving it a rich, velvety base
- 3/4 cup of granulated sugar, adding just the right amount of sweetness
- 1 teaspoon of vanilla extract, imparting a warm, aromatic note
- 2 cups of fresh cherries, pitted and chopped, bursting with juicy flavor
- 1 tablespoon of lemon juice, brightening up the taste of the cherries
- 1/2 teaspoon of almond extract (optional), adding a subtle nutty aroma
- 1 tablespoon of cornstarch (optional), for a creamier texture
All these ingredients are halal and will come together to create a blissful treat in the comfort of your own kitchen.
Cooking Time & Tips For Homemade Cherry Ice Cream
The beauty of making Homemade Cherry Ice Cream lies in the balance between quick and slow preparation. While the mixing and churning process can be swift, the waiting time for freezing is key to achieving that perfect scoop. Quick preparation can be achieved if you have an ice cream maker ready, but the slow freezing process is what creates that irresistible texture.
Practical Tips for Success:
- Ensure that your cherries are ripe and sweet for maximum flavor.
- Chill the cream mixture thoroughly before churning; this speeds up the process and produces creamier ice cream.
- Stir continuously when heating to prevent burning and ensure an even texture.
- Always fold in the cherries gently to maintain the beautiful chunks throughout the ice cream.
Step-by-Step Directions
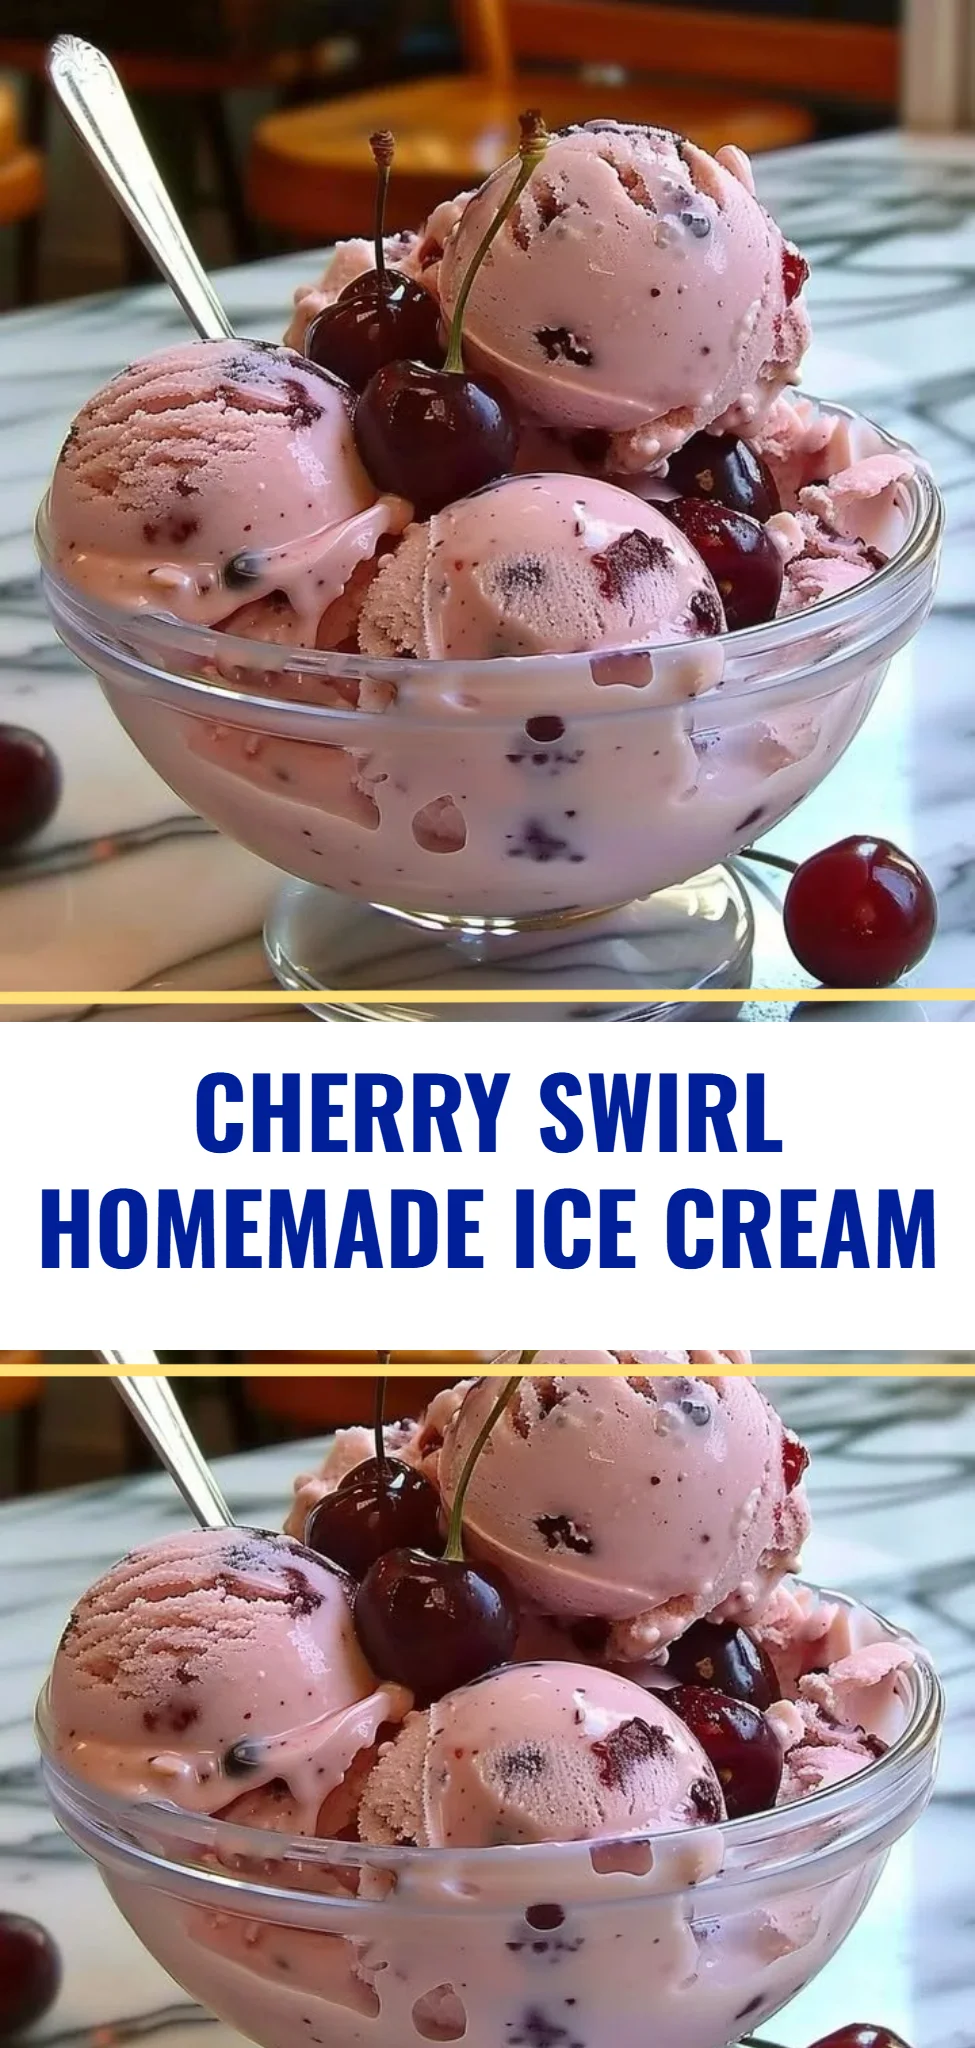
Begin by combining the 2 cups of heavy cream, 1 cup of whole milk, and 3/4 cup of granulated sugar in a saucepan over medium heat. Your kitchen will soon be filled with the comforting aroma of cream and sugar as you stir gently until the sugar completely dissolves.
In a small bowl, create a slurry by mixing 1 tablespoon of cornstarch with 2 tablespoons of milk. This will help thicken your ice cream base. Once the sugar has dissolved in the warm cream mixture, stir in the cornstarch slurry. Continue heating while stirring constantly for about 5-7 minutes until the mixture slightly thickens before removing it from the heat.
At this stage, add in 1 teaspoon of vanilla extract and, if you’re using it, 1/2 teaspoon of almond extract. This combination will elevate the flavor profile of your ice cream, making it irresistibly aromatic. Allow this mixture to cool to room temperature.
While the cream mixture cools, toss the 2 cups of chopped cherries with 1 tablespoon of lemon juice in a bowl. This tangy addition will brighten the cherries and enhance their sweetness, preparing them perfectly for incorporation into your ice cream.
When the cream mixture has cooled, pour it into your ice cream maker and churn according to the manufacturer’s instructions. Just before the mixture reaches soft-serve consistency, fold in the prepared cherries gently to ensure they are evenly distributed throughout.
Finally, transfer your homemade cherry ice cream into an airtight container. For the best texture, freeze it for at least 4 hours until it’s firm. When you’re ready to serve, scoop out that creamy goodness and indulge in each delightful bite.
Serving Suggestions & Occasions
Homemade Cherry Ice Cream is perfect for any occasion, whether it’s a sunny day, a family gathering, or a cozy night in with loved ones. Serve it in charming ice cream cones or elegant bowls, garnished with fresh cherries, a drizzle of chocolate sauce, or crushed nuts for an extra touch. This dessert pairs well with pies, cakes, or even just on its own as a refreshing treat after a hearty meal.
Common Mistakes For Homemade Cherry Ice Cream
When making Homemade Cherry Ice Cream, some common pitfalls can detract from your results:
- Not Cooling the Mixture Properly: If the cream mixture isn’t cooled adequately before churning, it can result in icy textures.
- Overchurning: This can lead to a denser ice cream, so be sure to stop as soon as it reaches the right consistency.
- Skipping the Lemon Juice: Neglecting this crucial step can lead to flavoring that is too sweet and one-dimensional.
By avoiding these mistakes, you’ll ensure a more successful and delectable homemade ice cream experience.
Healthier Alternatives & Variations
For those looking for healthier alternatives, consider using milk with lower fat content, such as 2% milk or even coconut milk for a dairy-free version. You can also reduce the sugar content by using natural sweeteners like honey or maple syrup.
If you’re feeling adventurous, try adding different fruits like blueberries or strawberries to the mix, or even swirl in some chocolate or caramel for a break from the classic cherry flavor. You can make it unique to your taste preference while still maintaining that creamy base.
FAQs
Can I use frozen cherries instead of fresh?
Yes, you can use frozen cherries; just be sure to thaw them and drain any excess liquid before adding them to the ice cream.How long does Homemade Cherry Ice Cream last in the freezer?
It can last for about 2-3 weeks in the freezer if stored properly in an airtight container.Can I use a blender instead of an ice cream maker?
While an ice cream maker provides the best texture, you can use a blender. Just blend until smooth, freeze the mixture, and whisk it every 30 minutes until it is firm.Is there a way to make this recipe without an ice cream maker?
Yes! Pour the mixture into a shallow container, freeze, and stir every 30-60 minutes for about 4 hours for a manual alternative.What is the best way to serve the ice cream?
Serve it in bowls or cones and consider garnishing with fresh cherries or a drizzle of berry sauce for enhanced flavor!Can I customize this recipe to add other flavors?
Absolutely! Feel free to experiment with different flavor extracts or other fruits to personalize your cherry ice cream.
Conclusion
Homemade Cherry Ice Cream is an experience you won’t want to miss. With its luscious texture and vibrant flavor, it’s crafted to satisfy those cravings and bring back warm memories. So why wait? Gather your ingredients and create a batch that will bring joy to your table today—this delightful treat deserves a spot in your kitchen!
PrintHomemade Cherry Ice Cream
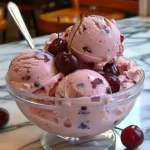
A delightful and creamy cherry ice cream that brings the essence of summer to your home.
- Prep Time: 15 minutes
- Cook Time: 10 minutes
- Total Time: 240 minutes
- Yield: 4 servings 1x
- Category: Dessert
- Method: Churning
- Cuisine: American
- Diet: Vegetarian
Ingredients
- 2 cups of heavy cream
- 1 cup of whole milk
- 3/4 cup of granulated sugar
- 1 teaspoon of vanilla extract
- 2 cups of fresh cherries, pitted and chopped
- 1 tablespoon of lemon juice
- 1/2 teaspoon of almond extract (optional)
- 1 tablespoon of cornstarch (optional)
Instructions
- Combine 2 cups of heavy cream, 1 cup of whole milk, and 3/4 cup of granulated sugar in a saucepan over medium heat and stir until dissolved.
- Create a slurry by mixing 1 tablespoon of cornstarch with 2 tablespoons of milk and stir into the warm cream mixture until slightly thickened, about 5-7 minutes.
- Add 1 teaspoon of vanilla extract and 1/2 teaspoon of almond extract, then cool the mixture to room temperature.
- Toss 2 cups of chopped cherries with 1 tablespoon of lemon juice in a bowl.
- Pour the cooled cream mixture into an ice cream maker and churn according to the manufacturer’s instructions. Just before it reaches soft-serve consistency, fold in the cherries.
- Transfer the mixture to an airtight container and freeze for at least 4 hours until firm.
Notes
Chill the cream mixture thoroughly before churning for a creamier texture. Avoid overchurning for the best consistency.
Nutrition
- Serving Size: 1 serving
- Calories: 250
- Sugar: 22g
- Sodium: 50mg
- Fat: 14g
- Saturated Fat: 8g
- Unsaturated Fat: 5g
- Trans Fat: 0g
- Carbohydrates: 27g
- Fiber: 1g
- Protein: 4g
- Cholesterol: 70mg